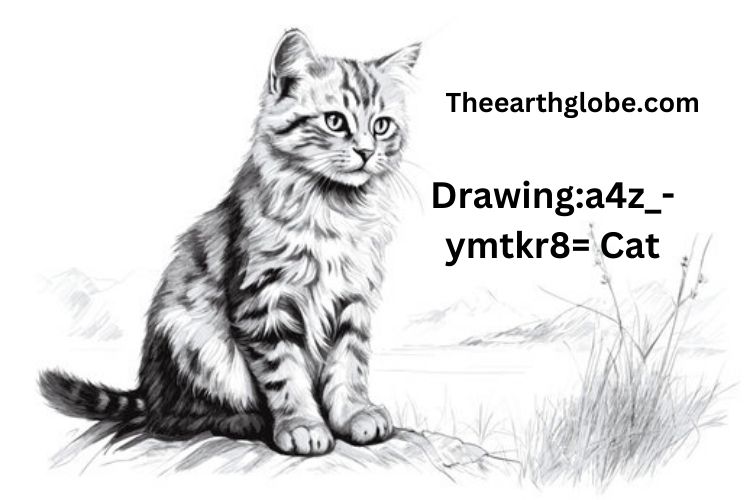
Drawing:a4z_-ymtkr8= Cat: Step-by-Step Guide for Beginners
Drawing:a4z_-ymtkr8= Cat can be an enjoyable and rewarding artistic experience, whether you’re a beginner or an advanced artist. With their sleek bodies, expressive faces, and graceful movement, cats offer many possibilities for creativity. If you’re looking to learn more about Drawing:a4z_-ymtkr8= Cat, this guide will take you through the process of creating cat drawings, providing tips, techniques, and step-by-step instructions to make your feline sketches look realistic and dynamic.
Why Drawing Cats is So Popular
Before diving into the steps, let’s understand why Drawing:a4z_-ymtkr8= Cat is such a common practice in the art world. Cats have distinct shapes, elegant forms, and a wide range of expressions that challenge artists to capture their grace and personality. Whether you are drawing a cartoonish, playful kitten or a realistic, regal feline, cats offer great variety for artists at all skill levels.
Tools You’ll Need for Drawing a Cat
To begin your journey into Drawing:a4z_-ymtkr8= Cat, you don’t need a lot of tools. Some basic supplies will do:
- Sketchbook or Drawing Paper: Choose high-quality paper to ensure smooth drawing.
- Pencil: A simple HB or 2B pencil works well for sketching outlines.
- Eraser: A good eraser helps correct mistakes without damaging your paper.
- Shading Pencils: To add depth, shading pencils like 4B or 6B will help define the shape and texture.
- Fine Liner or Ink Pen: For adding fine details and making your final lines bolder.
Once your supplies are ready, you can start creating your cat drawing.
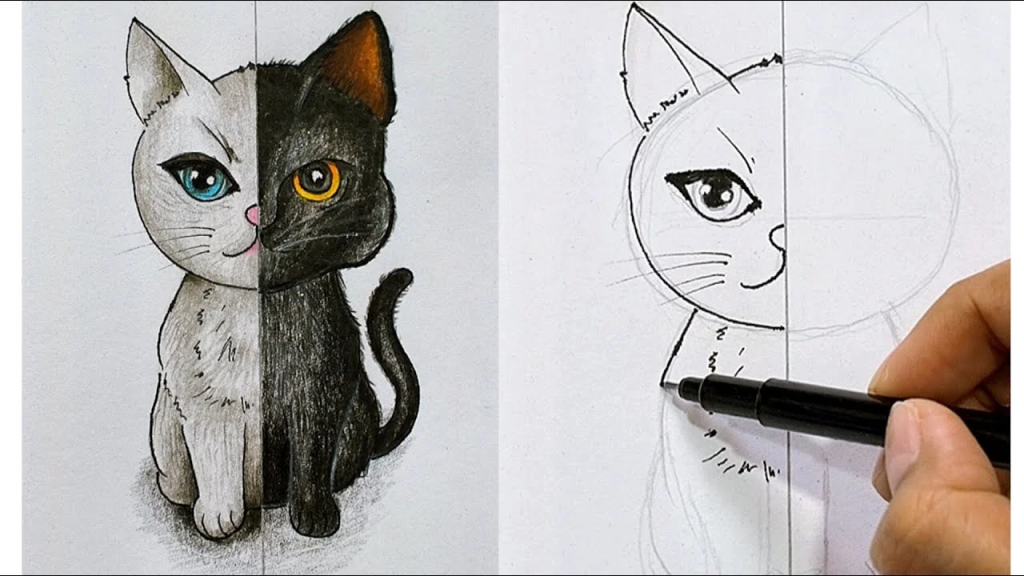
Step 1: Outline the Basic Shape
The first step in drawing a cat is outlining the basic shapes. Start by drawing simple shapes to define the cat’s head and body.
- Head: Draw a circle for the head. Make sure it’s not too big or small compared to the body.
- Body: Create an oval shape for the body, connecting it to the head with light lines.
- Ears: Use two triangle shapes for the ears, placing them at the top of the head, keeping the right distance between them.
- Tail: Add a long curved shape for the tail, giving it a natural flow.
Keep your lines light at this stage as you’ll refine them later.
Step 2: Sketch the Face Features
Next, it’s time to work on the cat’s face. The face is the most expressive part, so take your time to get it right.
- Eyes: Place two ovals or almond shapes for the eyes. Make sure they are evenly spaced.
- Nose: In the center of the face, draw a small triangle for the nose.
- Mouth: Extend two small curved lines down from the nose to create the mouth.
- Whiskers: Add several straight lines on either side of the mouth to form the whiskers.
Use small, precise strokes to keep the face detailed and lively.
Step 3: Add Body Details
Once the face is complete, begin refining the body. Adjust the basic shapes you drew earlier by adding curves to create the cat’s form.
- Neck and Shoulders: Soften the connection between the head and body by adding gentle curves to indicate the neck and shoulders.
- Paws: Draw the front and back legs using elongated ovals for the paws. Make sure to place them in a natural position, such as sitting or standing.
- Tail Details: Add more curves and volume to the tail to give it life and movement.
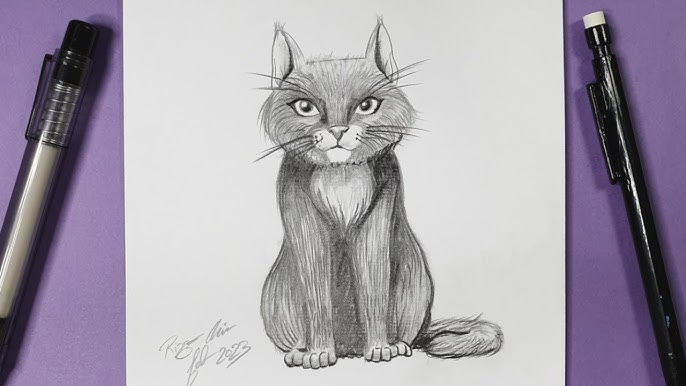
Step 4: Focus on Shading and Texture
One of the key components of Drawing:a4z_-ymtkr8= Cat is adding shading to make your cat drawing look three-dimensional. This step brings your cat to life, giving it texture and depth.
- Shading the Fur: Use light pencil strokes to add texture for the fur. For short-haired cats, keep the strokes fine and close together. For long-haired cats, use longer and more defined lines.
- Shadowing: Add shadows where the light naturally wouldn’t reach, such as under the cat’s chin, along its legs, and under its belly. This adds realism and depth to the drawing.
- Refining the Eyes: Shade around the eyes to make them stand out and give them a shiny, reflective appearance. The eyes are often the focal point of a cat drawing, so make sure they pop.
Step 5: Final Touches
The final stage in Drawing:a4z_-ymtkr8= Cat is refining all the small details. Go over your outlines with a fine liner or a darker pencil to make the drawing stand out.
- Adding Definition: Clean up any messy lines with an eraser and darken the important outlines like the eyes, nose, and body curves.
- Final Shading: Ensure the shading is smooth and well-blended to give the drawing a polished look.
- Whiskers and Fur Details: Make sure your whiskers are neat and precise, and add extra details to the fur for a finished appearance.
Post You Might Like: Meet Nala Cat: The Instagram Star with a Ton of Fo – Tymoff
Drawing Cats in Different Poses
If you want to explore more advanced Drawing:a4z_-ymtkr8= Cat techniques, try sketching your cat in various poses:
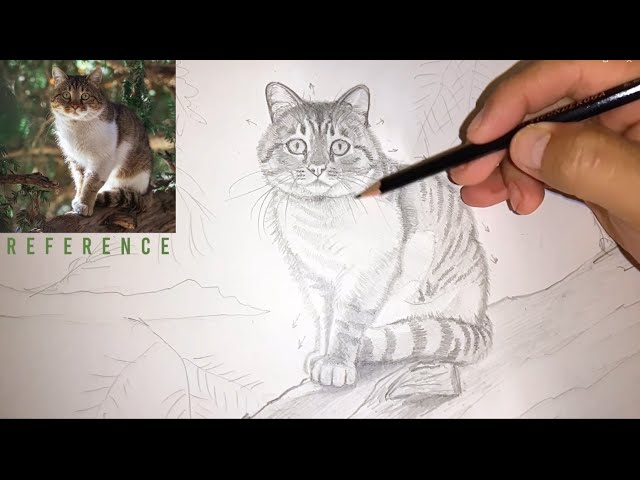
- Sitting Cat: This is one of the easier poses to start with. Focus on the back curves, the positioning of the front paws, and the tail.
- Sleeping Cat: A curled-up, sleeping cat is another popular pose. Capture the relaxed body and soft fur texture to make the pose look natural.
- Playful Cat: For a more dynamic drawing, try capturing a cat in motion. Whether jumping or pawing, this pose adds energy to your sketch.
Each pose provides different challenges, but they help you improve your skills and create a versatile range of cat drawings.
Key Aspects of Drawing:a4z_-ymtkr8= Cat:
| Element | Focus Area |
|---|---|
| Basic Shape | Head, body, ears, and tail |
| Facial Features | Eyes, nose, mouth, and whiskers |
| Fur | Texture and shading for short or long-haired cats |
| Pose | Sitting, sleeping, or playful poses |
| Breed | Adapt features for different cat breeds |
| Details | Shading, paw details, and final touches |
This table summarizes the key aspects to consider when drawing a cat, helping you stay focused on different components as you work through your sketch
Read To Know About: Pencil:f9kdhkibbmm= Drawings
Common Mistakes to Avoid When Drawing a Cat
When learning to draw a cat, it’s easy to make mistakes, but being aware of common errors can help you improve:
- Overly Symmetrical Faces: Cats’ faces aren’t perfectly symmetrical. Small variations in the eyes and nose placement make the face more realistic.
- Rigid Body Shapes: Cats are flexible animals, so avoid making their bodies look too stiff. Add gentle curves and fluid lines to suggest movement.
- Heavy Outlines: Keep your outlines light, especially when first sketching. Dark, heavy lines can make your drawing look flat and cartoonish.
By keeping these points in mind, you’ll be able to avoid common pitfalls and improve the realism of your cat drawings.
Drawing a Cat’s Face: Adding Emotion and Character
When drawing a cat, capturing the emotion and character in its face is essential. Cats are expressive creatures, and their eyes, whiskers, and mouth can convey different moods. Focus on the eyes to show playfulness, curiosity, or relaxation. Small tweaks in whisker direction and mouth shape can also suggest a variety of emotions, from contentment to alertness.
Drawing Realistic Cat Fur: Techniques for Texture
Fur is a critical detail when drawing a cat. Short-haired and long-haired cats require different approaches. For short-haired cats, use small, fine strokes close together. For long-haired cats, longer, more layered strokes are key to creating the effect of thick, fluffy fur. Keep the strokes soft and follow the natural flow of the cat’s body to make the fur look realistic.
Drawing Different Breeds of Cats: Adapting Techniques
“Different breeds of cats” have unique shapes and features. Siamese cats have slender bodies and almond-shaped eyes, while Persian cats have rounder faces and fluffier fur. Adapting your drawing techniques to reflect the breed is crucial for accuracy. Pay attention to these defining features to make your cat drawings breed-specific and more realistic.
How to Draw a Cat’s Paws: Focus on Detail
Drawing a cat’s paws can be tricky, but it’s important for completing the overall look. Cats have soft, rounded paws, and their claws can be extended or retracted depending on the pose. Pay attention to the pads of their paws and the subtle curves. Keep your lines light, and don’t overdo the details—focus on simplicity to capture the natural look.
Conclusion: Mastering the Art of Drawing a Cat
Drawing:a4z_-ymtkr8= Cat is both a fun and rewarding experience for artists of all skill levels. By following the steps outlined in this guide—starting with basic shapes, refining the features, and focusing on shading and texture—you can create a realistic and expressive cat drawing. Whether you’re a beginner or looking to refine your skills, practice is key. With time and patience, your cat drawings will only improve, helping you capture the grace and beauty of these incredible creatures.
People Also Read: Drawing:cul23ybyzfm= Basketball
Frequently Asked Questions (FAQs)
What are the basic steps for drawing a cat?
- Start with simple shapes like circles and ovals for the head and body. Add facial features, then refine the body shape, legs, and tail. Finish with details like fur and shading.
How do I draw a cat’s face?
- Focus on the eyes, nose, and mouth. Place two almond-shaped eyes, a small triangle for the nose, and extend soft curves for the mouth to make it expressive.
How can I make my cat drawing look realistic?
- Use shading techniques to add depth and texture. Pay attention to light and shadow, and incorporate details like fur strokes and whiskers.
What tools are needed to draw a cat?
- Basic tools include a pencil, eraser, sketchbook, and shading pencils. Optional tools include fine liners for detailing and colored pencils for enhancing the final look.
How do I draw a sitting cat?
- Begin by sketching an oval for the body and a circle for the head. Position the legs beneath the body, keeping the posture relaxed, with the tail curled around.
How can I draw different breeds of cats?
- Each breed has unique features. Focus on body shape, face structure, and fur length to reflect specific breeds like Siamese, Persian, or Maine Coon.
What’s the best way to draw a cat’s fur?
- For short-haired cats, use fine, close strokes. For long-haired cats, use longer, layered strokes to give the appearance of thick, fluffy fur.
How can I improve my cat drawing skills?
- Practice regularly, study reference photos, and experiment with different poses and shading techniques to improve your cat drawing over time.
How do I capture a cat’s movement in a drawing?
- Use dynamic lines and curved shapes to show a cat in motion. Position the legs and tail to suggest the action, such as jumping or running.
What common mistakes should I avoid when drawing cats?
- Avoid making the face too symmetrical, the body too rigid, and the outlines too dark. Focus on fluid lines and light sketches to maintain realism.